GrowIt! Mobile App Succulent Giveaway

burritosweb.jpg

We are so excited to be teaming up with GrowIt! Mobile to bring you guys a super easy and awesome giveaway!

One Grand Prize winner will receive a $50 Lowe's gift card, a copy of our book DIY Succulents and a box of assorted premium succulents, hand picked by us! Two additional winners will receive $25 Lowe's gift cards and our book! Keep reading for giveaway details ↓

GrowIt! is a gardening app that lets you "garden socially" for free! We were a little skeptical about joining another social network, but GrowIt! is so much more than just a place to share plant photos!

Use GrowIt! to gather information about specific plants such as basic care, watering and soil needs, hardiness zones and more! You can organize plants into projects and create shopping lists before heading out to the garden center! One of my favorite parts about this app is the "Help Identify This Plant" feature!

Ultimately, GrowIt! mobile is a place to share and gain plant knowledge, something we are really passionate about!

growit-mobile-app-garden-socially-needlesandleaves_net.jpg

Here is how to enter the giveaway:

❶ Download the GrowIt! app
❷ Post a plant picture on the app
❸ Include the hashtag #needlesandleaves in the comment section of your plant photo!

(Giveaway ends January 24th, 2017. Open to US and Canada only.)

Steve Barton Art

Oceanside local, Steve Barton, creates a gorgeous tropical oil painting on a surfboard.

Oceanside local, Steve Barton, is a world renowned artist who is known for his distinct loose impressionistic style and signature Wavy frames. From bright and bold tropical landscapes to serene still lifes, from canvas to surf boards, Steve's ever growing repertoire continues to expand.  As a long time fan and collector of Steve's work, it was such an honor to hear that Steve had done an original watercolor inspired by one of my photographs. I was recently invited into Steve's studio to preview his new desert scape and succulent inspired pieces and I'm thrilled to be able to share his new work with you all. 

It was such a treat to get to sit down with Steve to discuss his artistic vision for the future as well as get some insight into a little Barton history. 

Artist Steve Barton 

Growing up, Steve learned to paint alongside his mother, who painted New England landscapes to sell as folk art at craft fairs. Steve remembers selling his first painting, a covered bridge, at a bank in New Hampshire for $375 at the age of 16. Not a bad start if you ask me!

Steve began painting full time after moving to California in 1994. Inspired by the beauty of coastal palm trees, he began focusing on tropical landscapes and tranquil scenes depicting what you might imagine your dream vacation getaway to be. One day in 1999, Steve's creativity was sparked after stretching a canvas way too tight. He loved the way it added dimension to his painting and complimented his unique style, so he began creating "Wavy" canvases on purpose.  Because wavy canvases require wavy frames, Steve had his work cut out for him to create a frame to accompany his newly invented wavy canvas. He describes his first Wavy frame as "Frankenstein's monster", with bolts sticking out everywhere and glue oozing out of the cracks. Over time, he was able to perfect his Wavy frame which is now his trademark. 

Steve's inventiveness has caught the eye of art lovers around the globe leading to many amazing opportunities including a recent collaboration with the Walt Disney Company. 

Always looking to expand his artistic horizons, Steve has recently found inspiration in the desert landscapes of the Southwest. Prints of his new paintings titled "Needles" + "Leaves" are now available at BartonStudios.com!

Check out these amazing videos of Steve painting "Needles" + "Leaves"!

Steve Barton Needles Time Lapse Inspired by Needles + Leaves

Leaves time lapse mixed media painting by Steve Barton

As to be expected, I had to snap a shot of some of the aeoniums at Barton Studios!

Gorgeous Aeonium 'Zwartkop' plants basking in the California sun. 

Gorgeous Aeonium 'Zwartkop' plants basking in the California sun. 

For more information on Steve and his art, please visit BartonStudios.com and follow Steve on Instagram @SteveBarton!

Watercolor and oil painting "Needles" by Steve Barton via Needles + Leaves blog.

Steve Barton. Where it began Documentary

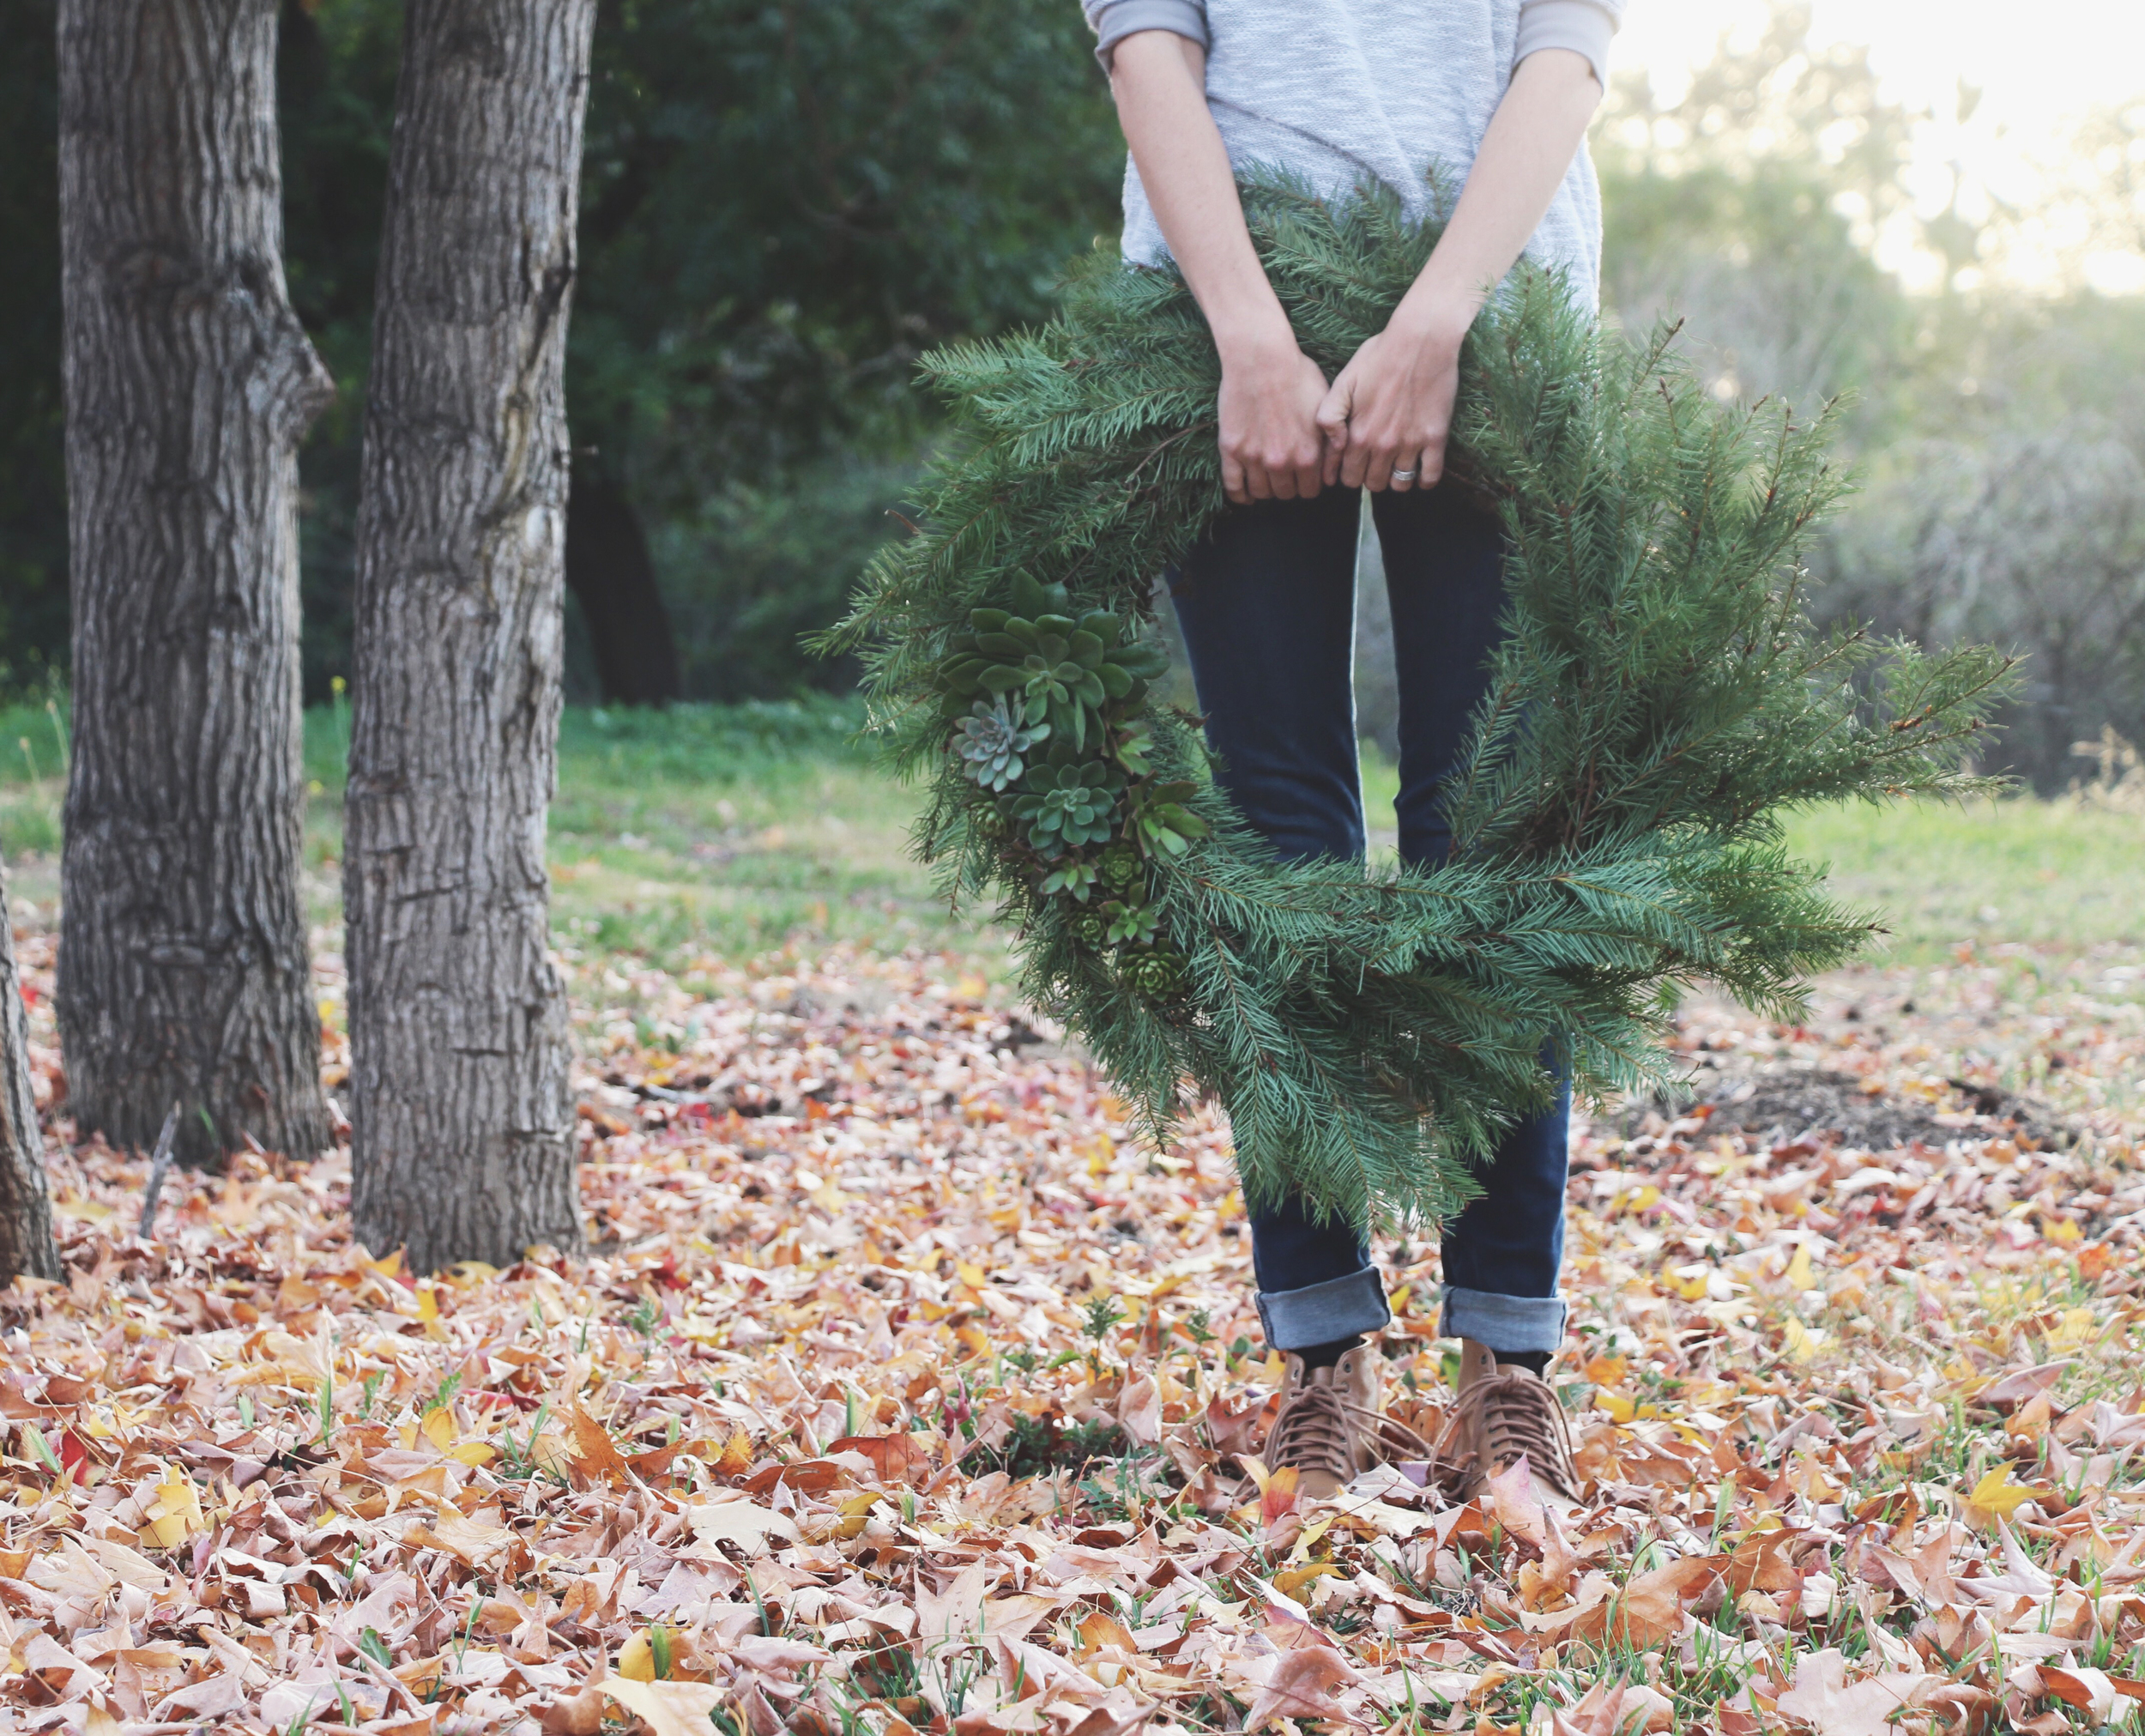
DIY Living Christmas Wreath with Succulents

DIY Living Christmas Wreath with Succulents via Needles + Leaves

It's the most wonderful time of the year! Christmas Time! As a crafter at heart, I just can't help but create projects out of all the festive scraps lying around the house during the holidays.  After setting up our Christmas tree this year, we had a bunch of fir trimming left over from the bottom section of the tree. My first thought was, "Perfect! I can make a wreath!" Naturally, I wanted to incorporate succulents for a little something extra! Here is a quick tutorial for you, so you can make a wreath out of your tree trimmings too! 

Supplies: 

Metal Wreath Frame

Sphagnum Moss

Twine/Jute

Floral Pins

Christmas Tree Trimmings

A Few of Your Favorite Succulents 

Supplies needed for DIY Living Christmas Wreath with Succulents

We decided to make a sphagnum moss wreath frame to create a living wreath, as opposed to just wiring our fir timings and succulents to a metal frame. Succulents can root and even thrive in sphagnum moss alone, and we figured if a cut Christmas tree can last for a month or two in a bowl of water, trimming should last just as long (possibly longer) in moist moss.  

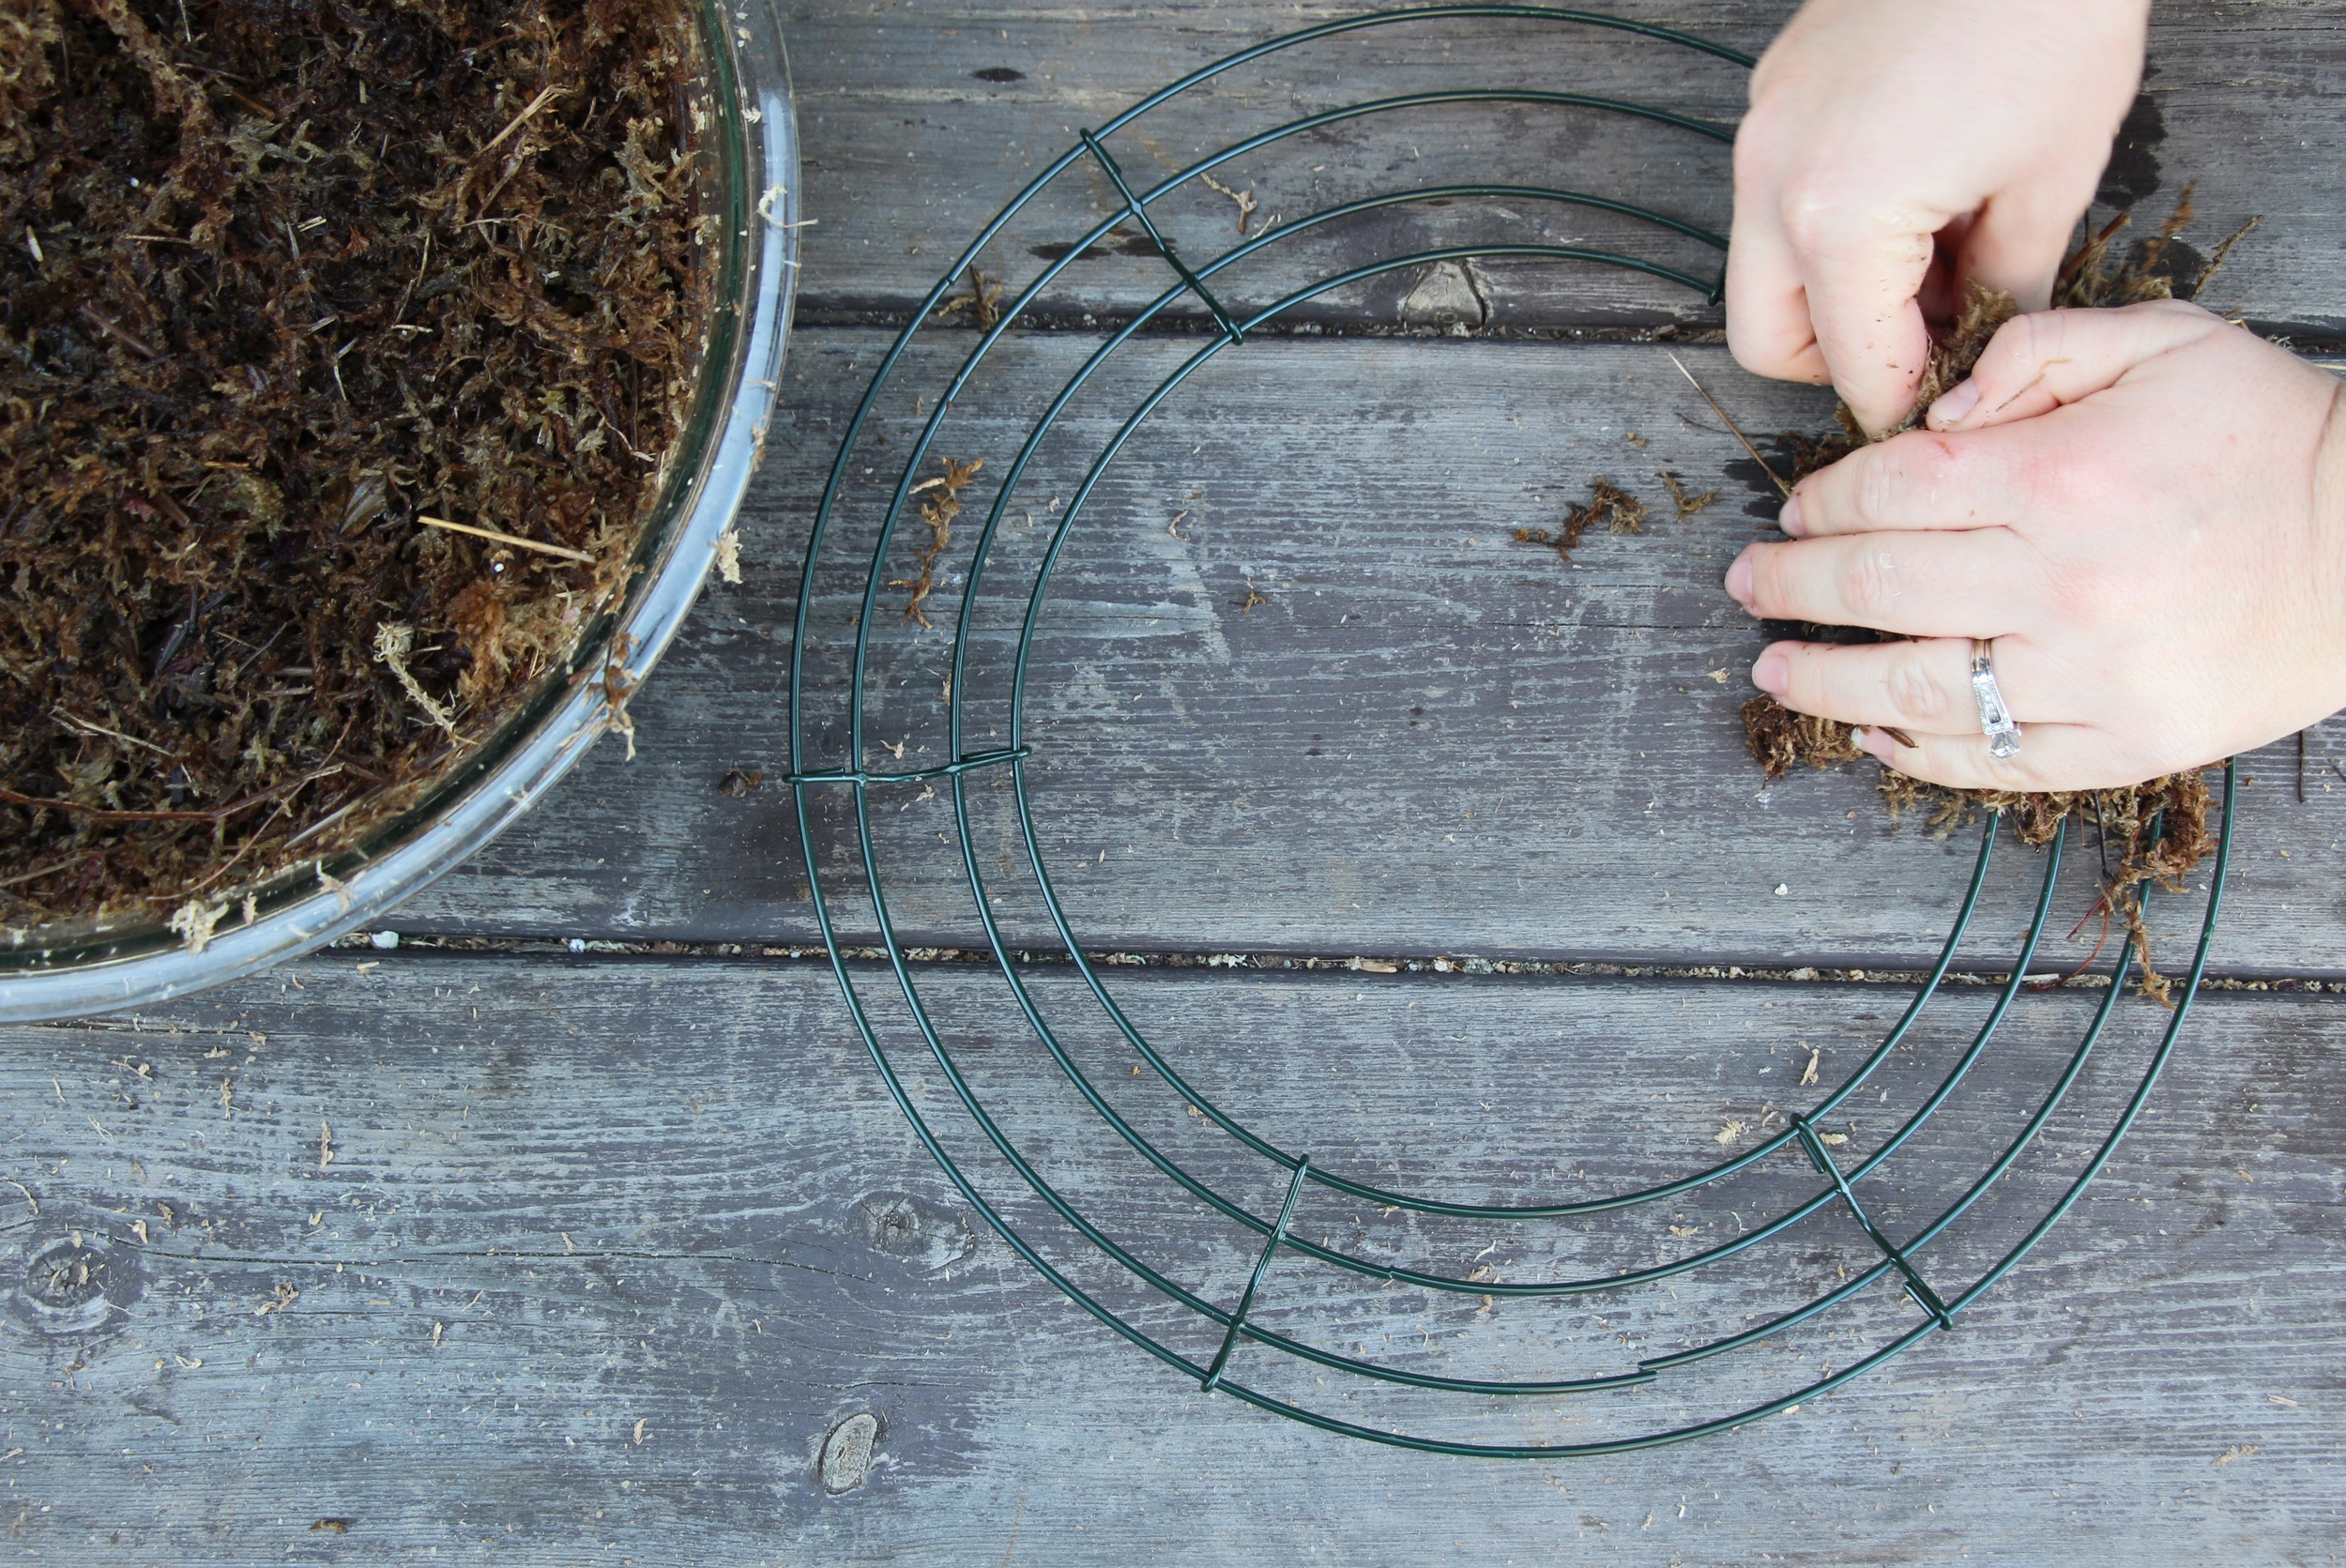
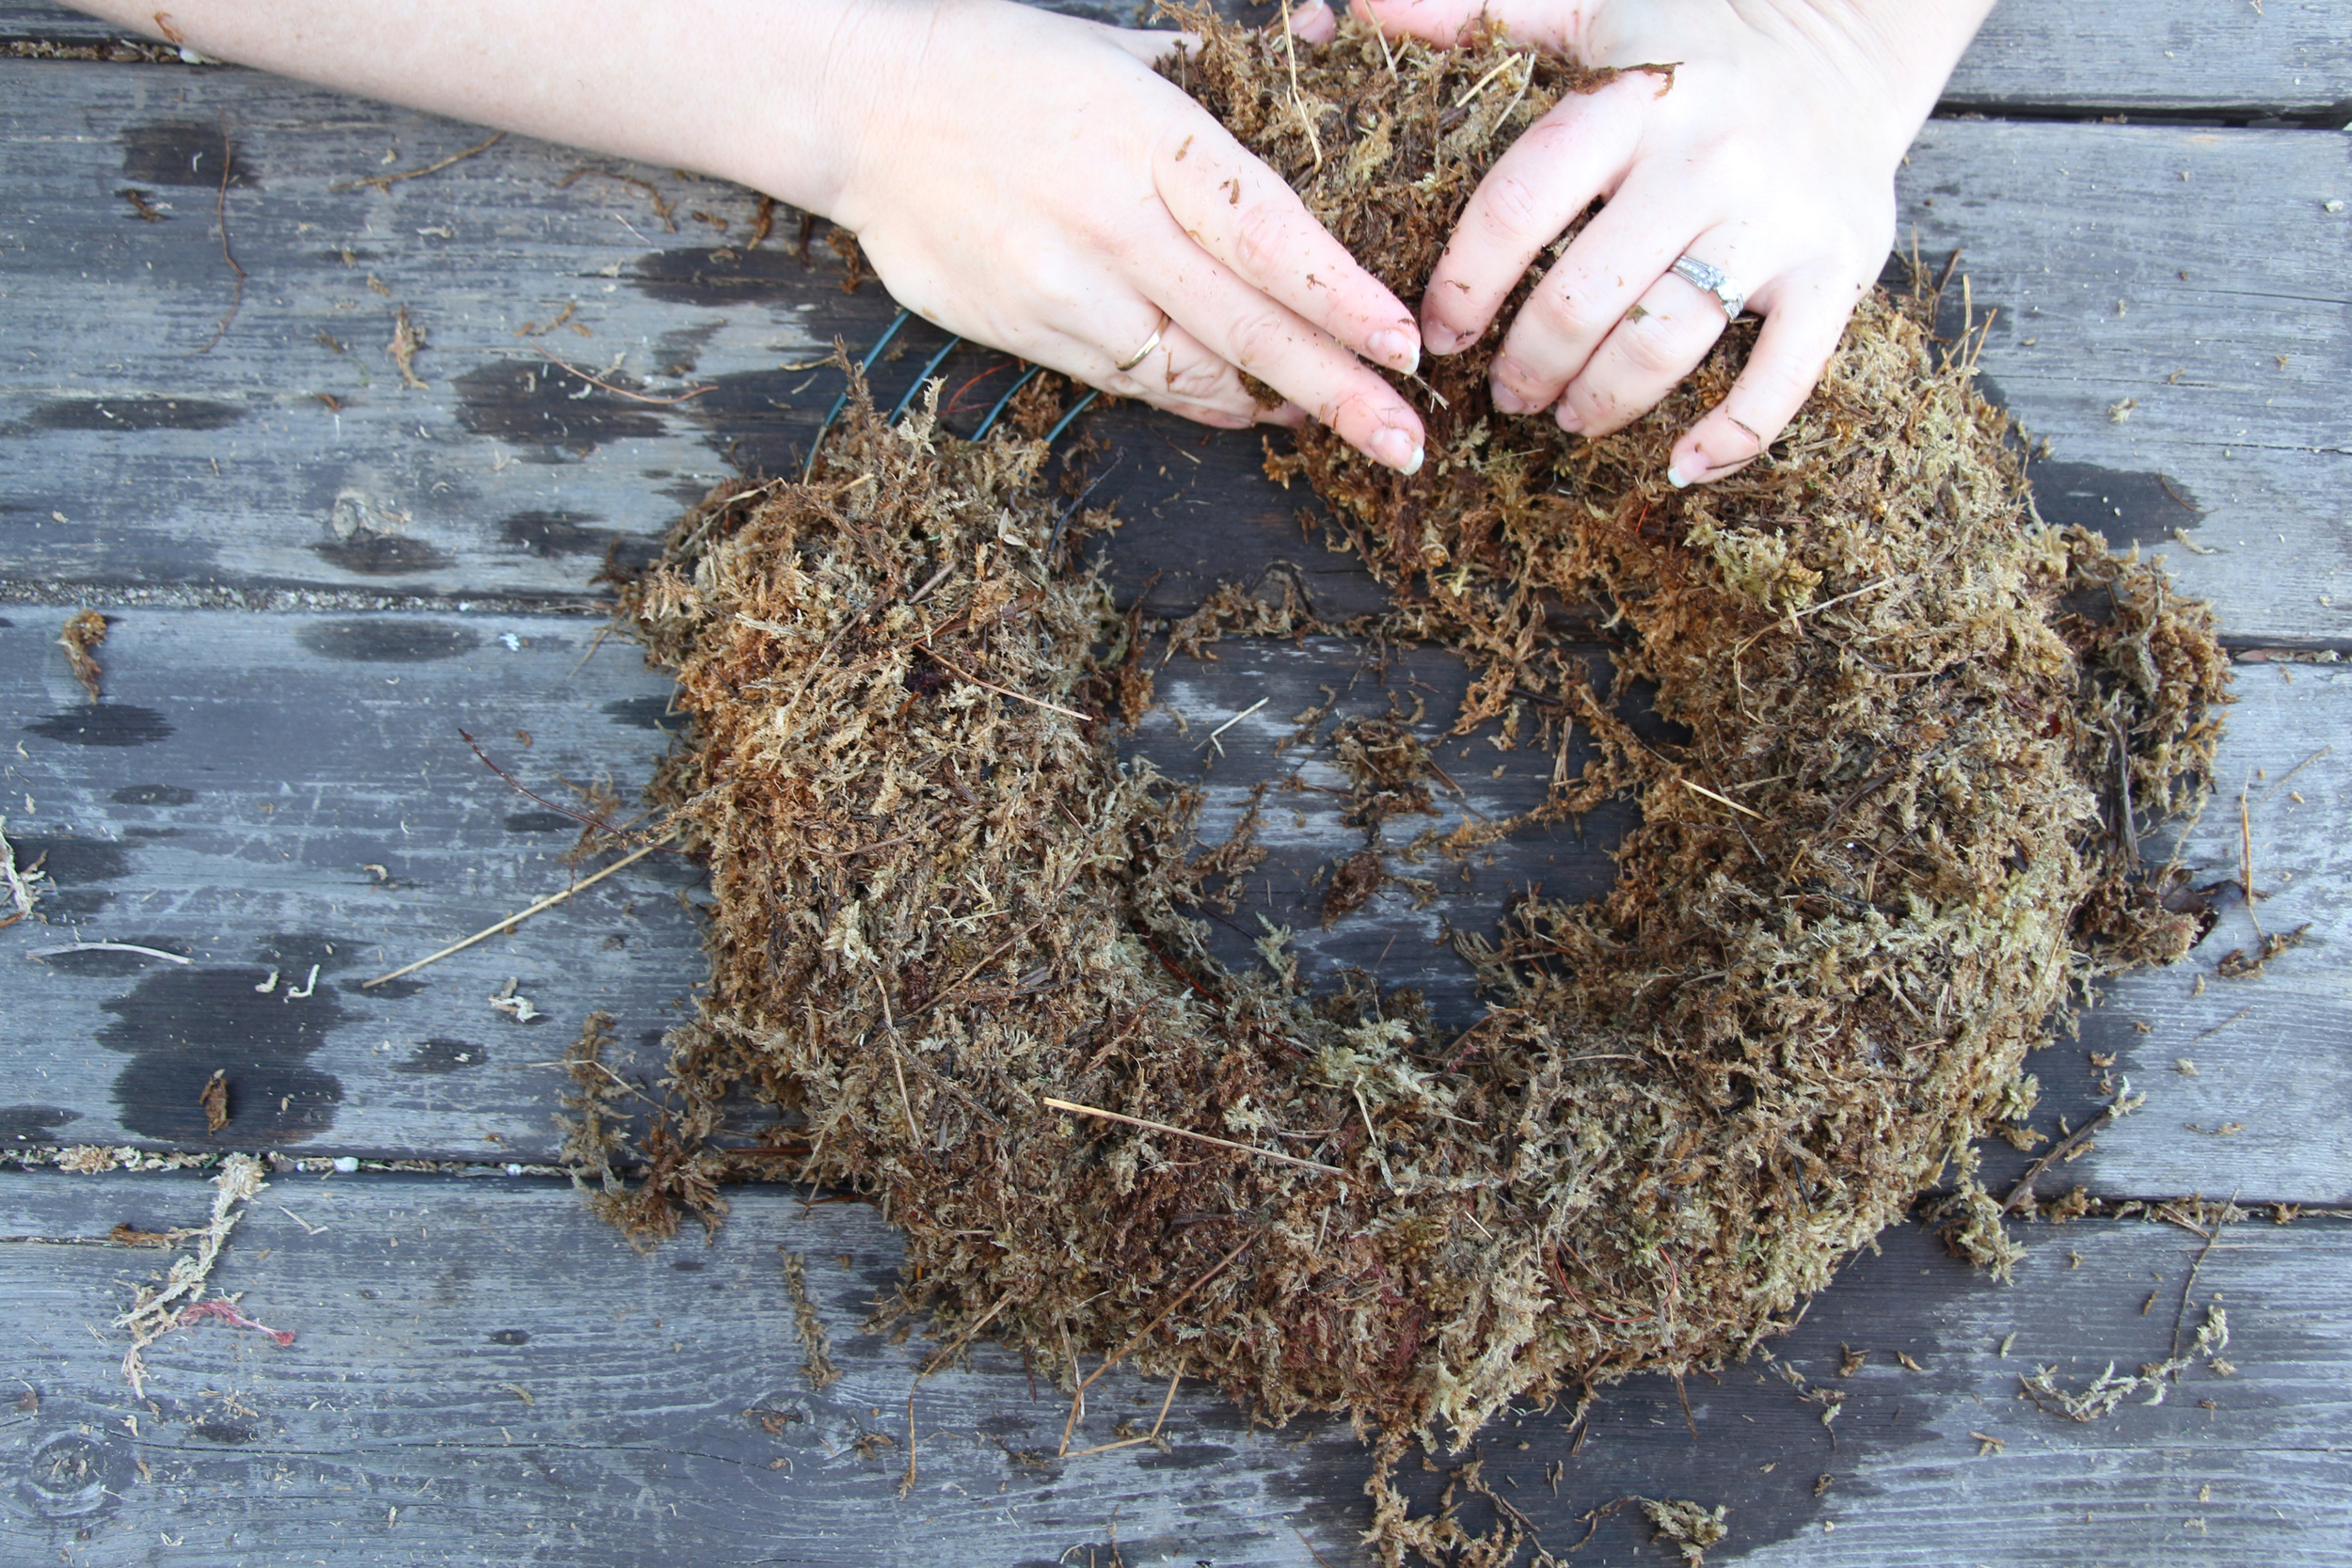
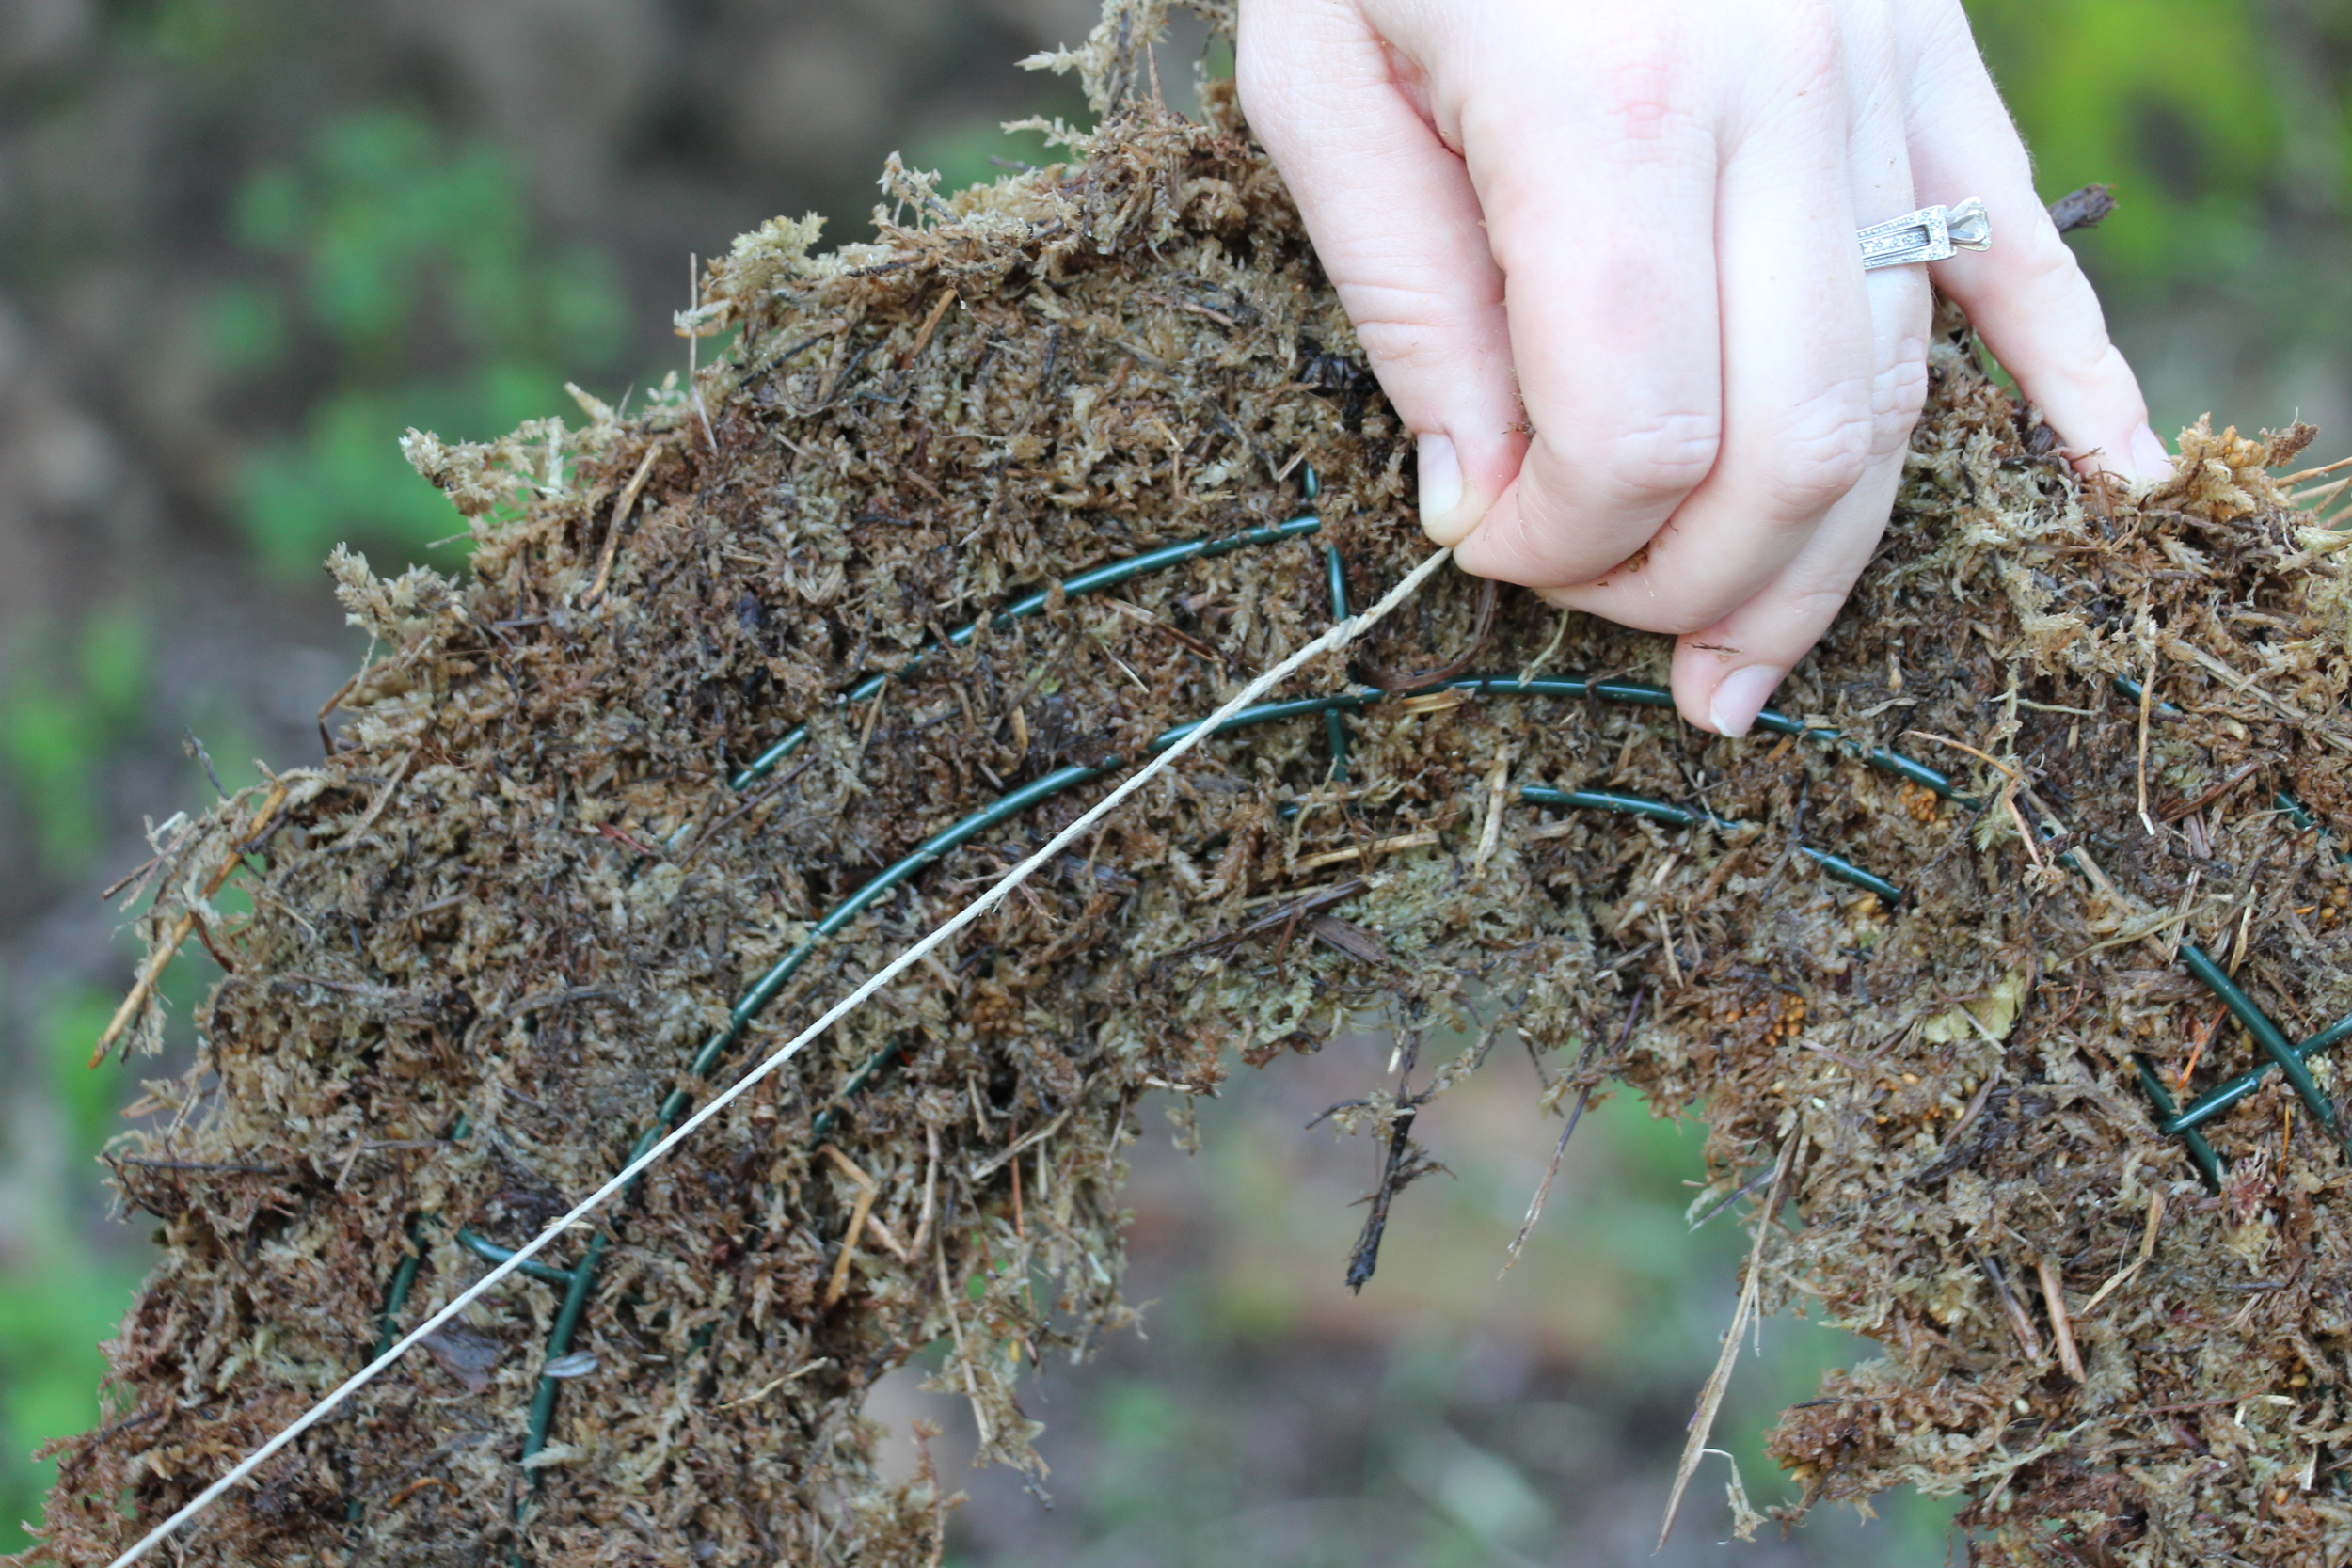
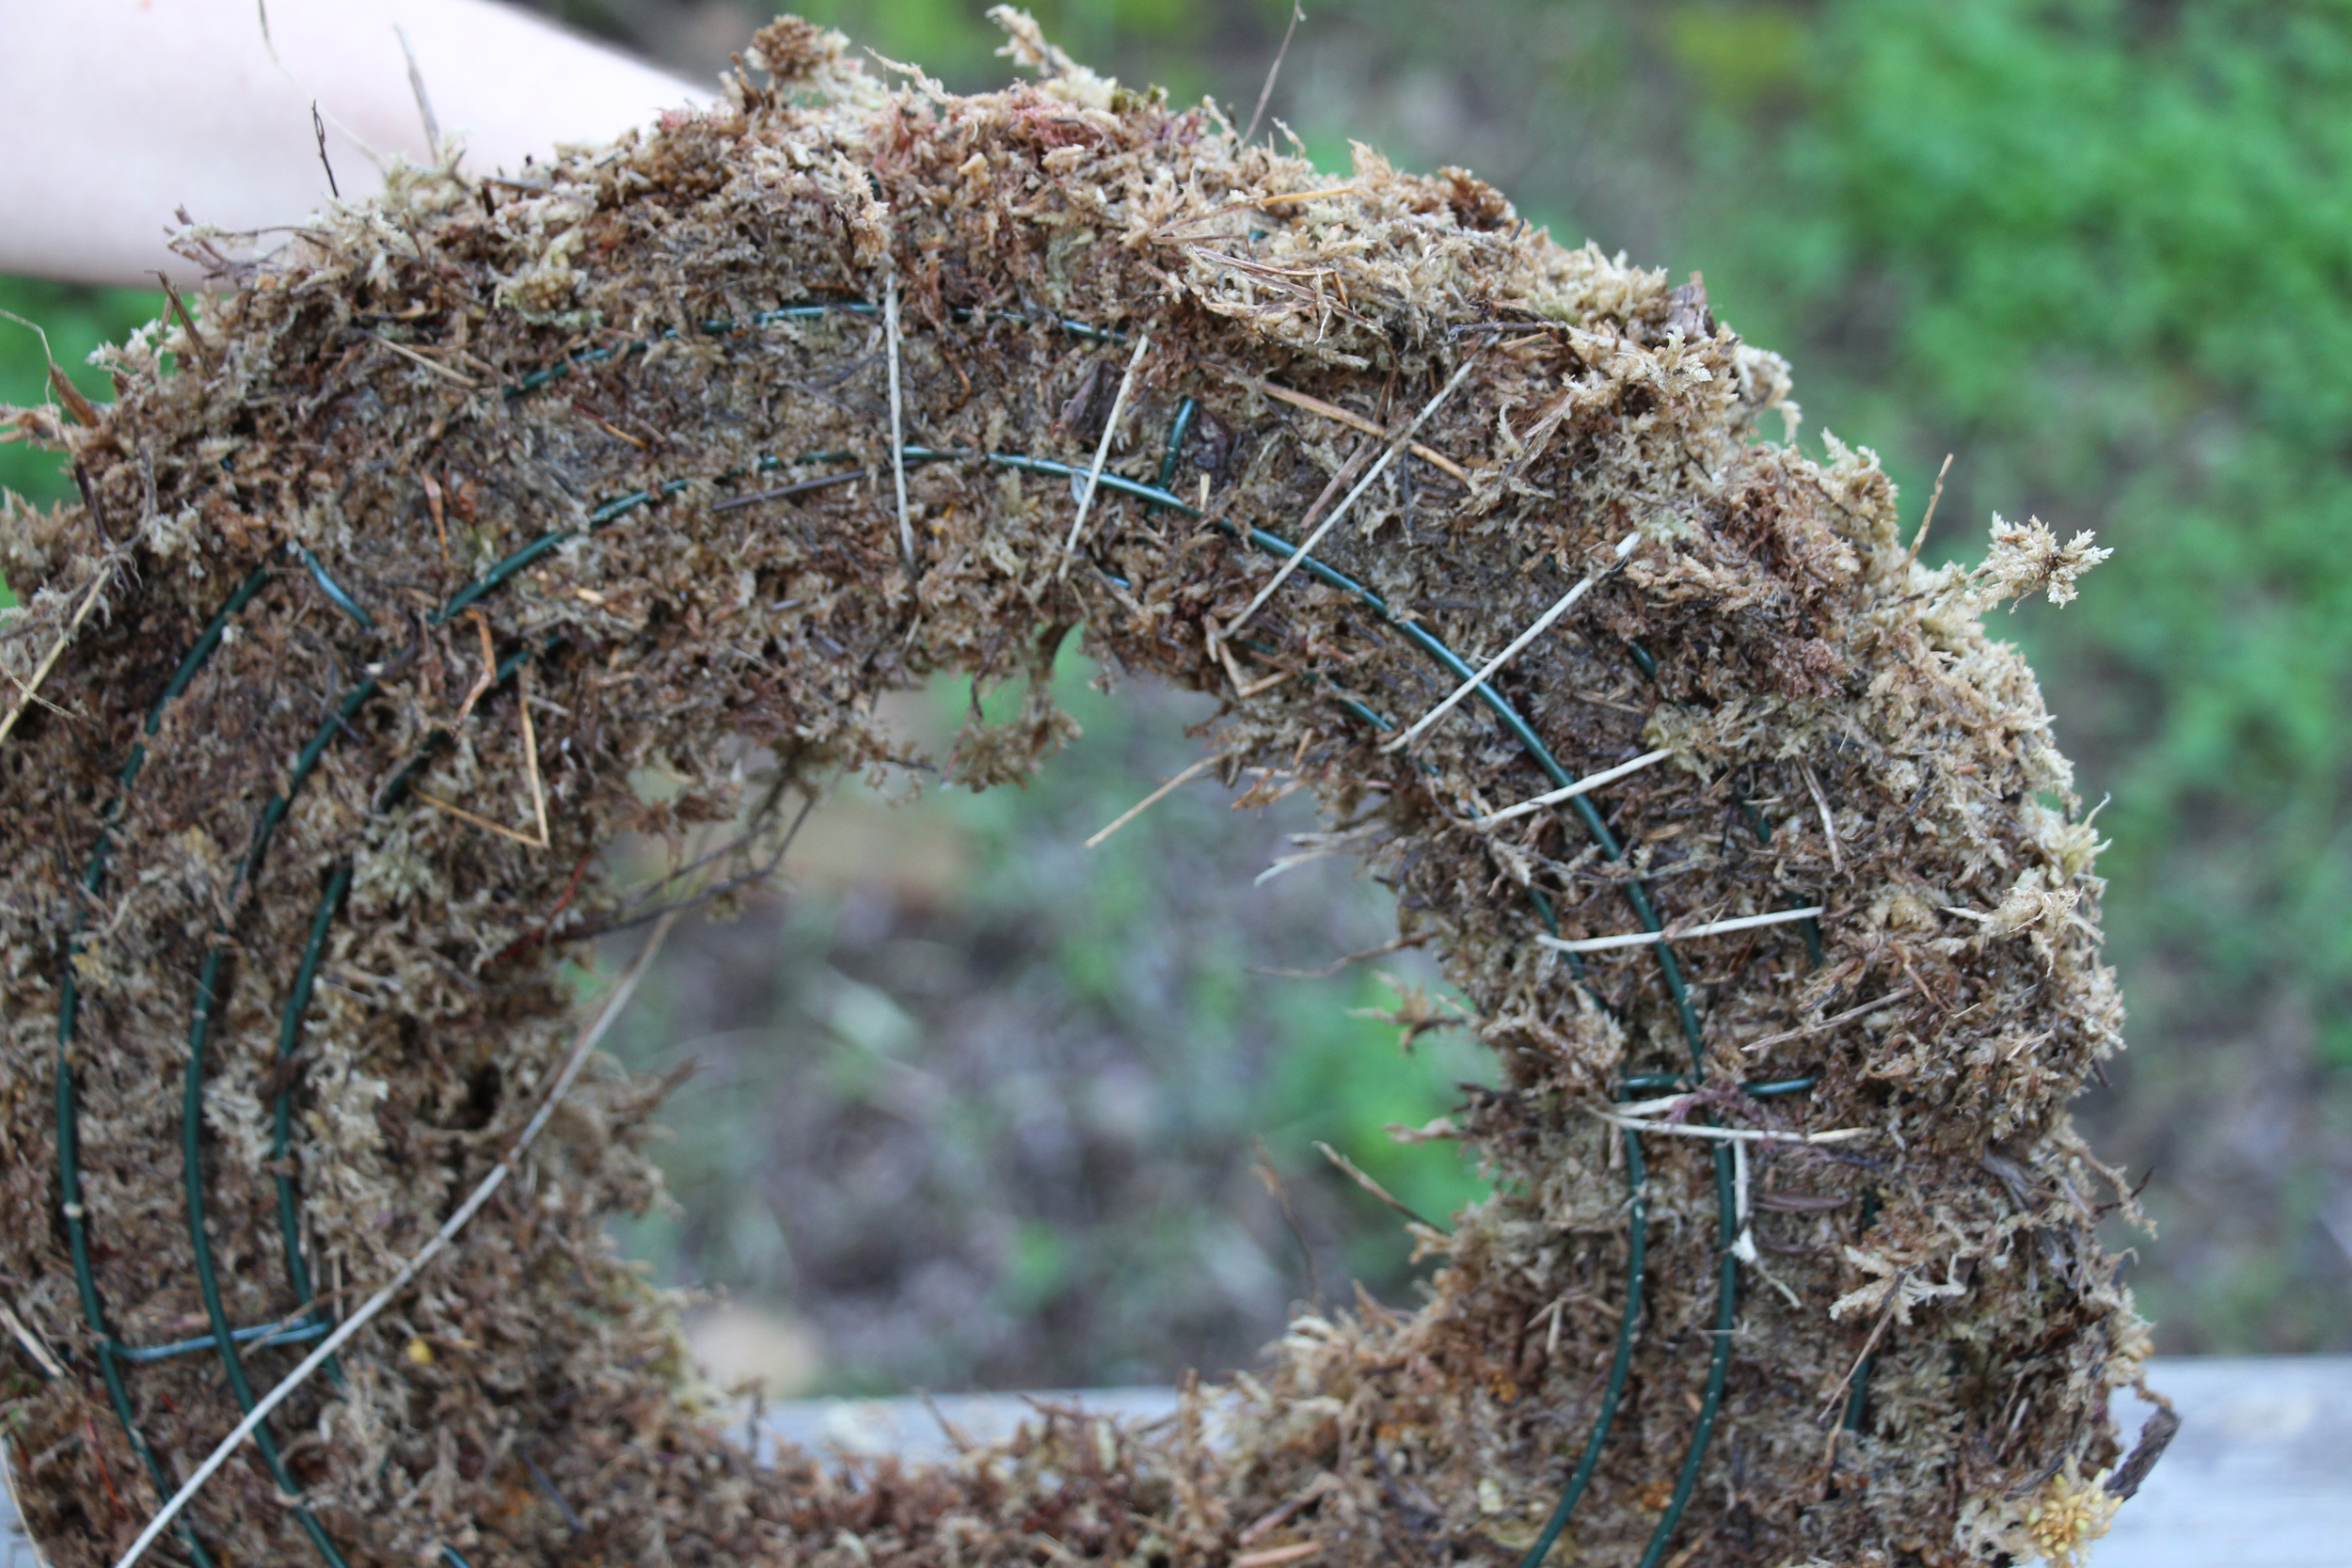
First, soak your sphagnum moss in a large bowl of water. Begin adding your moss to your wreath frame, squeezing out any excess water as you go.  As you work your way around the wreath frame, press the moss together as if you are creating a loaf. Once the entire wreath frame is covered with moss, tie the end of the jute twine to the back of the frame and wrap the moss with the twine. This will keep the moss attached to your frame. Once you have gone around the entire frame once of twice, tie off and cut your jute twine. 

Now we can start adding the tree trimmings. Cut small manageable pieces (about 6 to 12 inches long) from the larger branches.  Begin adding them around the wreath, sticking the freshly cut ends of the branches into the moss.

DIY Living Christmas Wreath with Succulents via Needles + Leaves

Use floral pins throughout to help keep the branches in place. Hold the wreath upright from time to time so you can see how the branches will fall when hanging. This will help you know where more floral pins are needed.

DIY Living Christmas Wreath with Succulents via Needles + Leaves

Keep adding branches around the wreath until you reach the point where you started.  Make sure to keep layering the branches to give the wreath volume. Continue to add floral pins when necessary. 

Once you have all the tree trimming secure on the wreath you can now start adding the succulents. You can add them where ever you'd like, along the top, spread throughout, or on the side.  We chose to add them along the side.

DIY Living Christmas Wreath with Succulents via Needles + Leaves

Use a pencil or your finger to make a hole for the stem, place the stem into the hole and use floral pins to secure it into place. We tried to keep the roots intact when possible, but if your stem is just too long, you will need to cut the roots off.  If you are using succulent cuttings for your wreath, you will need to use more floral pins to keep them in place until they have time to develop new roots. It usually take a few weeks to a month or so for cuttings to take root.  Keep adding succulents until you have created a design you like.

DIY Living Christmas Wreath with Succulents via Needles + Leaves

Now you a beautiful Christmas wreath! You can give it as a great home made gift or keep it for yourself to enjoy all season long! 

DIY Living Christmas Wreath with Succulents via Needles + Leaves

Living Christmas Wreath Care Instructions:

Remove your wreath from your door or wall and water it with a hose or watering can once a week or at least every two weeks. Leave it horizontal until it has had time to drain a bit and then rehang. Make sure your plants are getting plenty of bright indirect sunlight.

DIY Living Christmas Wreath with Succulents via Needles + Leaves