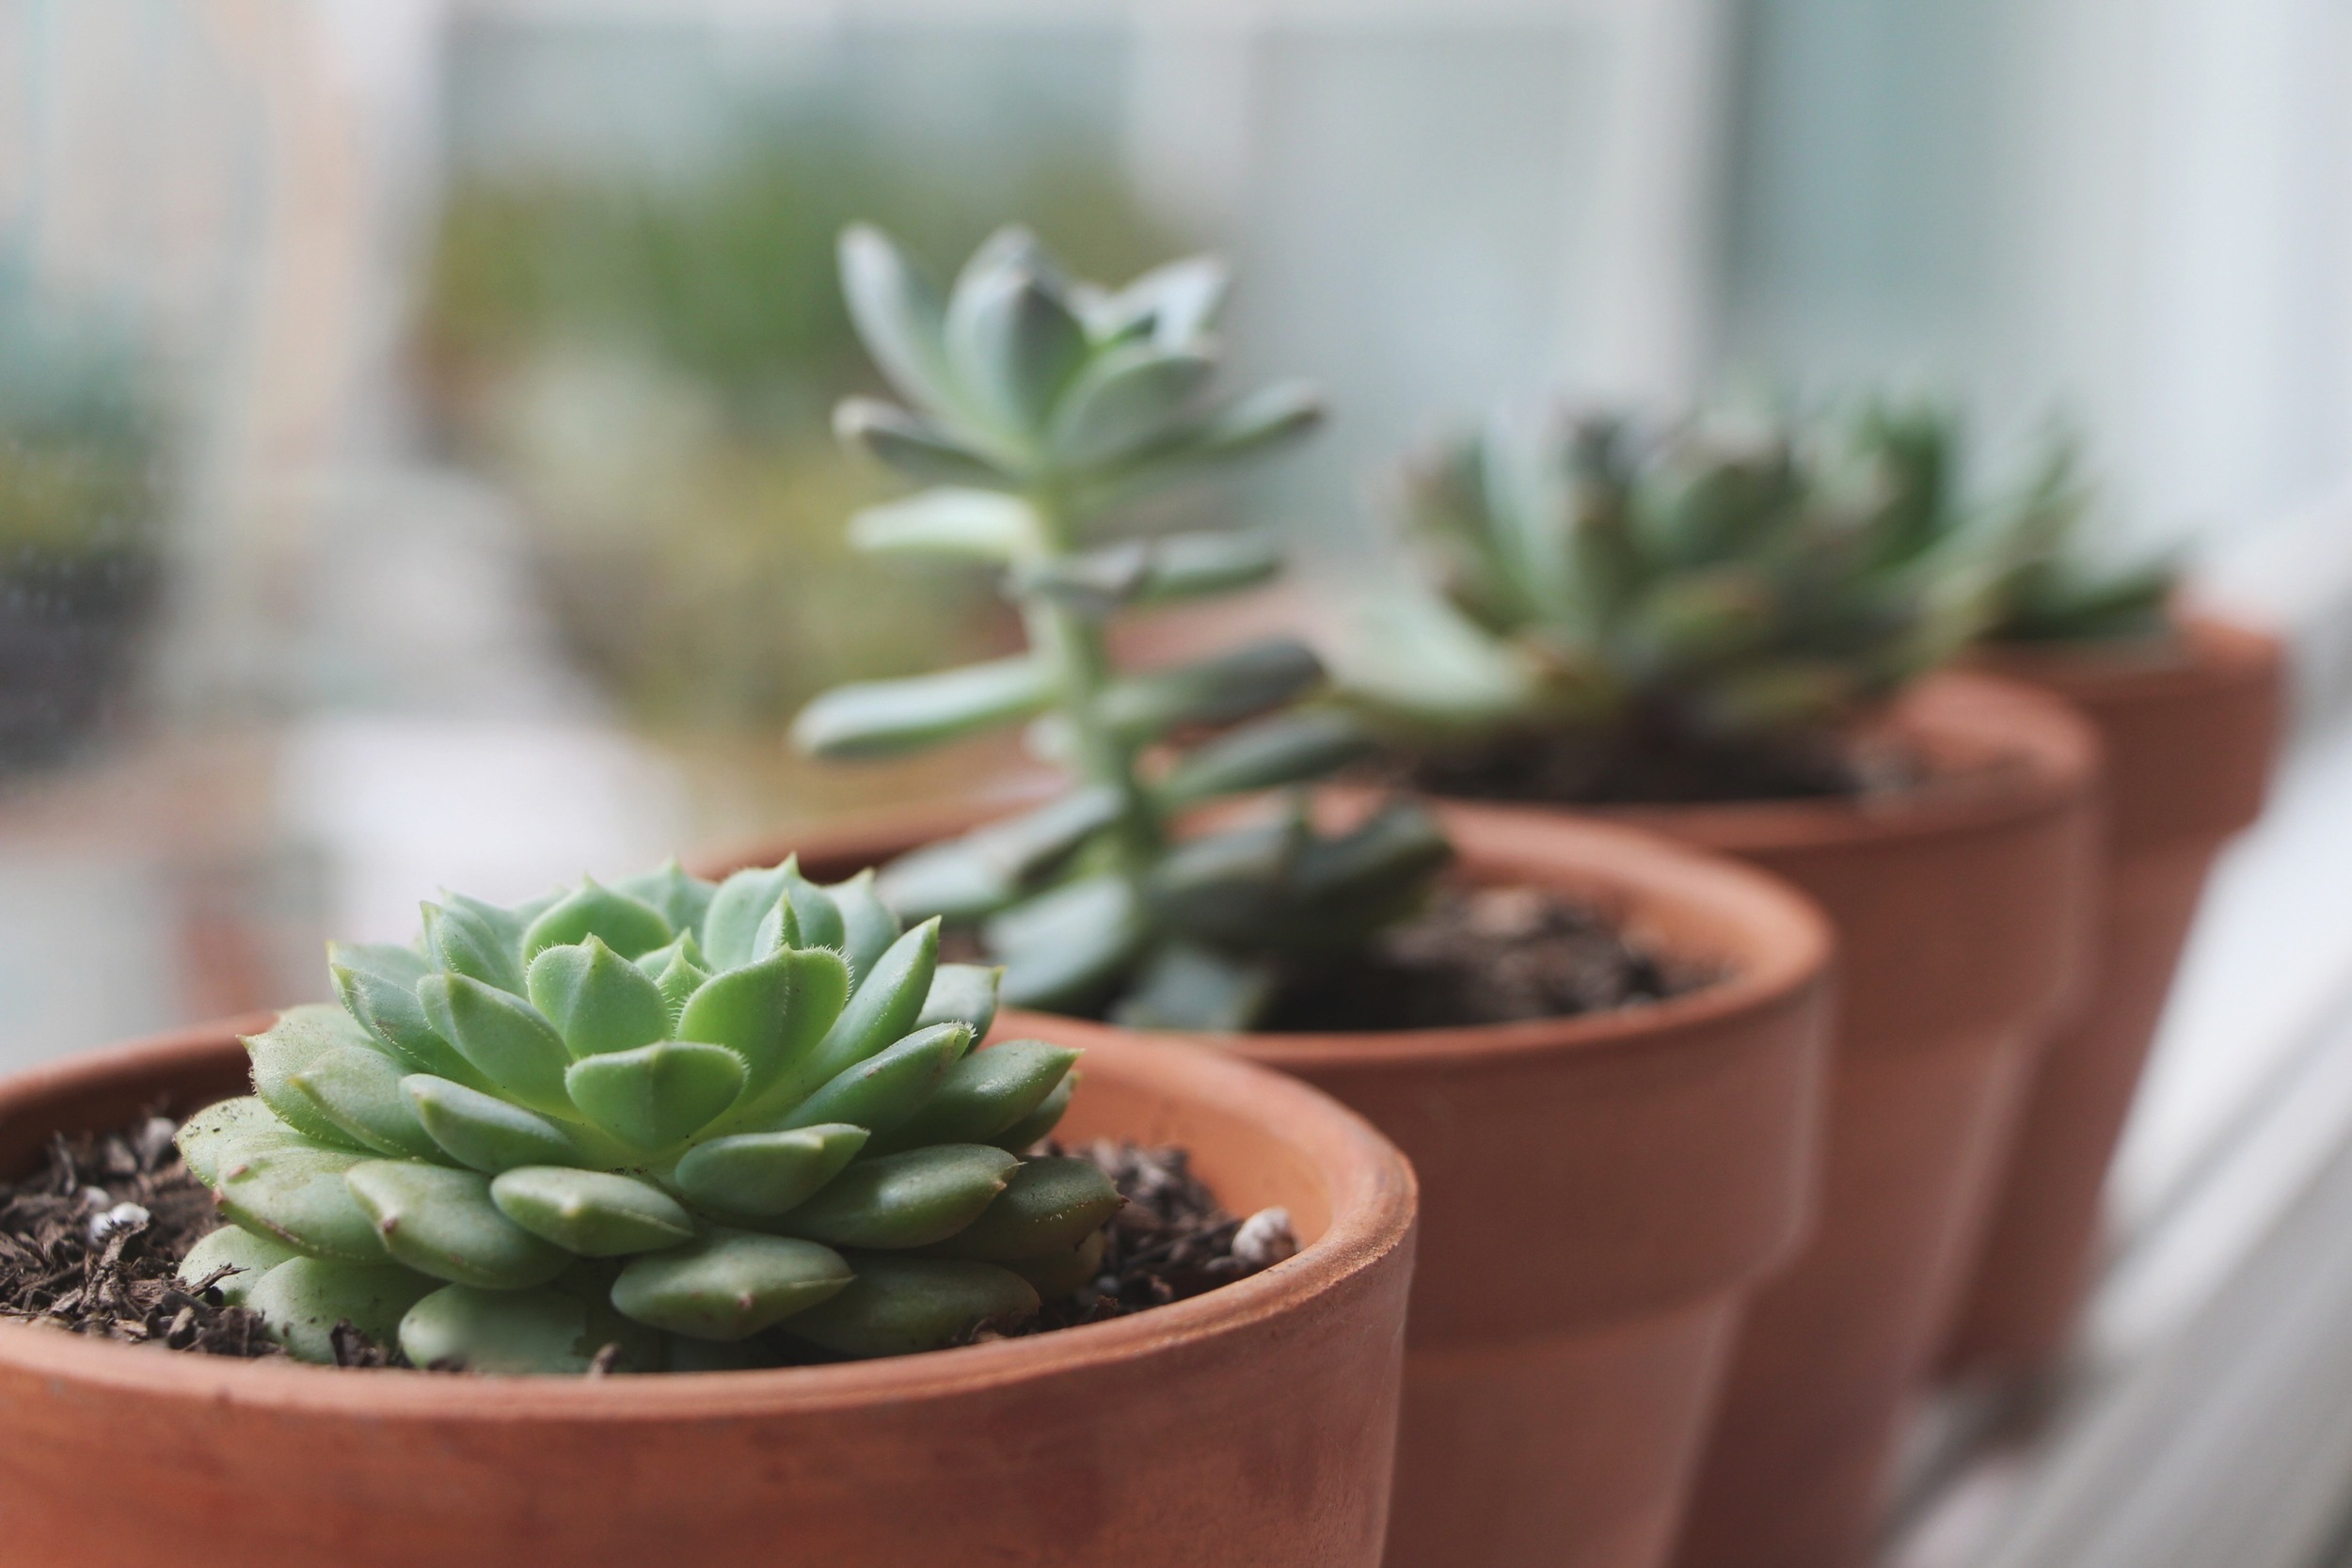
DIY Hanging Succulent Terrarium

DIY Hanging Succulent Terrarium for Petunia Handbags Blog via Needles + Leaves

I recently had the privilege of guest blogging for Petunia Handbags! Head on over to see the exclusive "DIY Hanging Succulent Terrarium" post on their fabulous blog and don't forget to check out their Instagram feed @followpetunia for future DIYS and giveaways. 

*Updated February 2017. We are so sorry, the links to the original blog post are no longer working. Please enjoy these photos of the finished product!

DIY Hanging Succulent Terrarium for Petunia Handbags Blog via Needles + Leaves

DIY Little Lace Dress

DIY Little Lace Dress via Needles + Leaves

When planning my daughter Indy's last photo shoot before starting Kindergarten, I knew I wanted two things for sure: a fresh flower crown and to make her dress myself.  For her flower crown, I simply followed Tawni's DIY Succulent Crown tutorial using real fresh flowers instead of succulents.  As for her dress, I started by buying fabric that I thought would be pretty and went from there.  I made the dress about an hour before the shoot and it was so simple I thought I should share it as a DIY.

Diy Little Lace Dress and Flower Crown via Needles + Leaves

Supplies I Used:

Ivory Thread

1 1/2 yards Ivory Cotton Fabric

2 yards Ivory Lace Fabric

Ivory Zipper

Fabric Scissors

Tape Measure  

Sewing Pins

1. I started by measuring my daughter. She is 4 1/2 years old and very petite so make sure to take your own measurements as well. 

These are her measurements:

  • Total length of the dress: 25" long.  (from the top of her chest to her ankles) 
  • Total for the top bodice: 4 1/2"  long.
  • Total circumference for top bodice: 21" (I decided to make the dress a tube top, so I wanted the bodice very tight.) 
  • Total for the lace skirt bottom: 21" long x 45" wide.

2. After taking these measurements I started cutting. I began with the cotton fabric.

For the bodice I needed to cut a piece 4 1/2 L. x 10 1/2" W. I folded the fabric in half and cut 2 pieces at a time.

DIY Girls Lace Dress

The ivory fabric I bought was a bit see through so I needed to make the dress double layered. If you are using a darker color or a thicker fabric you can skip to step 4.

3. You will need to cut another 2 pieces. 2 for the front and 2 for the back to make it double layered.  Once you made your first cut in step 2, just lay that piece on the fabric and cut again.

DIY Girls Lace Dress

Now you have your front and back for the bodice! 

DIY Girls Lace Dress

4.  Next we can cut the fabric for the skirt portion. The skirt is also two layers. The bottom layer is the cotton fabric and the top layer is the lace. I laid the lace fabric on top of the cotton fabric so that I could cut them together.  Now I cut both fabrics together 21" L. x 45" W.

DIY Girls Lace Dress

Now that we are done with cutting, We can start sewing!  

5. Let's start with the bodice, If you are doubling up the layers, we need to sew them together individually first. Take 2 of the 4 pieces we cut in the beginning, pin them together and sew along 3 of the 4 sides a 1/4" seam leaving the bottom unsewn. Now turn it right side out. Repeat with the other 2 pieces.
*If you are not doubling up your fabric, start by folding down the top of your 2 pieces of fabric 1/2" and iron. Then sew a 1/4" seam. 


To finish the bodice pin the 2 finished pieces together along the left and right sides and sew together to create a tube.

You can leave the bottom of the bodice unfinished because the lace skirt will be sew on top.  

DIY Girls Lace Dress

6. Next we can attached the bodice to the lace skirt. Start by pinning the lace and cotton we cut earlier to the bodice in the back.  I pleated it 1/2" apart to make the dress flow better all the way around. The skirt will start to overlap. This will help the dress close in the back. 

DIY Girls Lace Dress

7. Now start sewing the top and bottom together.   

DIY Girls Lace Dress

Here you have the sewn bodice!

DIY Girls Lace Dress

8. Now we have the zipper, first you need to trim your zipper to the length you want on the dress. I trimmed mine to about 11". Fold your dress inside out and unzip the zipper. (not all the way.. the zipper will come off!) lay the zipper on the dress and cut a straight line down the back of the dress about an inch from the end of the zipper. Now pin your unzipped zipper to the dress and sew.

DIY Girls Lace Dress
DIY Little Lace Dress via Needles + Leaves

9. For a little extra cuteness I added a little strip of lace to the front of the bodice.  I didn't want to sew to much on the lace so I sewed it along the sides and a a few stitches in the middle. 

DIY Girls Lace Dress

10. Viola! We have a little lace dress. The dress was exactly what I imagined and it looked adorable on Indy!  I hope you enjoyed following along in this tutorial! Feel free to leave a comment below if you have any questions or need help! Check out our stylized photo shoot featuring this dress. Find me on Instagram under @kristaandleaves or  @needlesandleaves.

DIY Girls Lace Dress via Needles + Leaves

Tips for Growing Healthy Succulents

echeveria 'lola" succulent via needles + leaves. read how to grow succulents, tips for growing healthy succulents, how to propagate succulents from cuttings and leaves.

I'm asked quite frequently on Instagram to share tips for growing succulents, so I decided it would be a good idea to share them here as well.  Let me start off by saying, I consider myself a succulent enthusiast, but I am by no means an expert. (Feel free to correct me anytime!) That being said, I do have a lot of plants and they are all very healthy, so I'd love to share with you what has worked for me. 

I've found that there are three main factors to consider when growing succulents: 

Soil + Water + Sunlight

Tips for growing healthy succulents, how to grow succulents, and how to propagate succulents from cuttings and leaves via Needles + Leaves.

1. Soil

What kind of soil should I plant my succulents in? 

Succulents love well draining soil.  I've been buying a Palm & Cactus mix from Lowes for sometime now and it has been great.  In the dryer summer months, I've found that my soil drys a little too quickly. If you feel like your soil is just not retaining water long enough, you can mix your cactus soil with a bit of regular potting soil to increase the water retention to your liking. Sometimes, I like to keep my plants in containers without drainage holes, such as tea cups, mason jars and baby food jars.  In this case, I will either layer the bottom of the container with pebbles or add sand to the soil to help with drainage issues.

2. Water

How much and when should I water my succulents?

There is a common misconception that succulents don't need much water.   While it's true that they can go longer periods of time without it, they will not "thrive" in a drought-like situation.  I learned this the hard way when I first started my collection.  I would go weeks without watering and my plants were not growing. They weren't dying either. My mom on the other hand, would water her plants frequently and her plants were flourishing! I decided she was on to something and began watering my plants more often. Now, my general rule of thumb is water when the soil is dry.  For me, that is about once a week during hotter months and a little less when the weather cools.  When I water, I water the soil not the plant. (I've heard that letting water settle on the leaves can cause rot, in addition to leaving unsightly markings.) I give it a good soak so that the water runs out of the bottom of the pot. (For plants without drainage holes, I don't soak. I give more of a "sip.") I see a lot of people killing their succulents by overwatering. You can avoid this by making sure the soil is totally dry between waterings.   

3. Sunlight

How much sunlight do succulents need? 

In general, succulents do best in bright but indirect sunlight.  I've found that different species can tolerate different amounts of light, but most of my plants tend to suffer in extended periods of direct sunlight.  To avoid burning and scorching your plants, keep them in a place where they get a lot of shade but still receive adequate light. My healthiest plants are outside on window sills where they are protected from direct sunlight by small over hangs. Like I said, some plants can tolerate direct sunlight better than others. You just need to experiment with your plants to see what works best where you live.  If your plants are not getting enough light they may become leggy and stretch toward the light. If your plants are stretching out or bending toward the light, you can slowly move them to a brighter spot or rotate the pot from time to time to keep them growing straight up. You might also like to propagate your leggy succulents. (See my post on Propagating Succulents for more info.) 

Tips for growing healthy succulents :: How to grow healthy succulents via Needles + Leaves

I hope this has been helpful! Please let me know if you have any questions at all. Find me on Instagram under @tawwni or @needlesandleaves or leave a comment below. 

Related

Shop our Premium Succulents

Shop our Premium Succulents

How To Propagate Succulents

How To Propagate Succulents

How to Grow Succulents in Artificial Light

How to Grow Succulents in Artificial Light